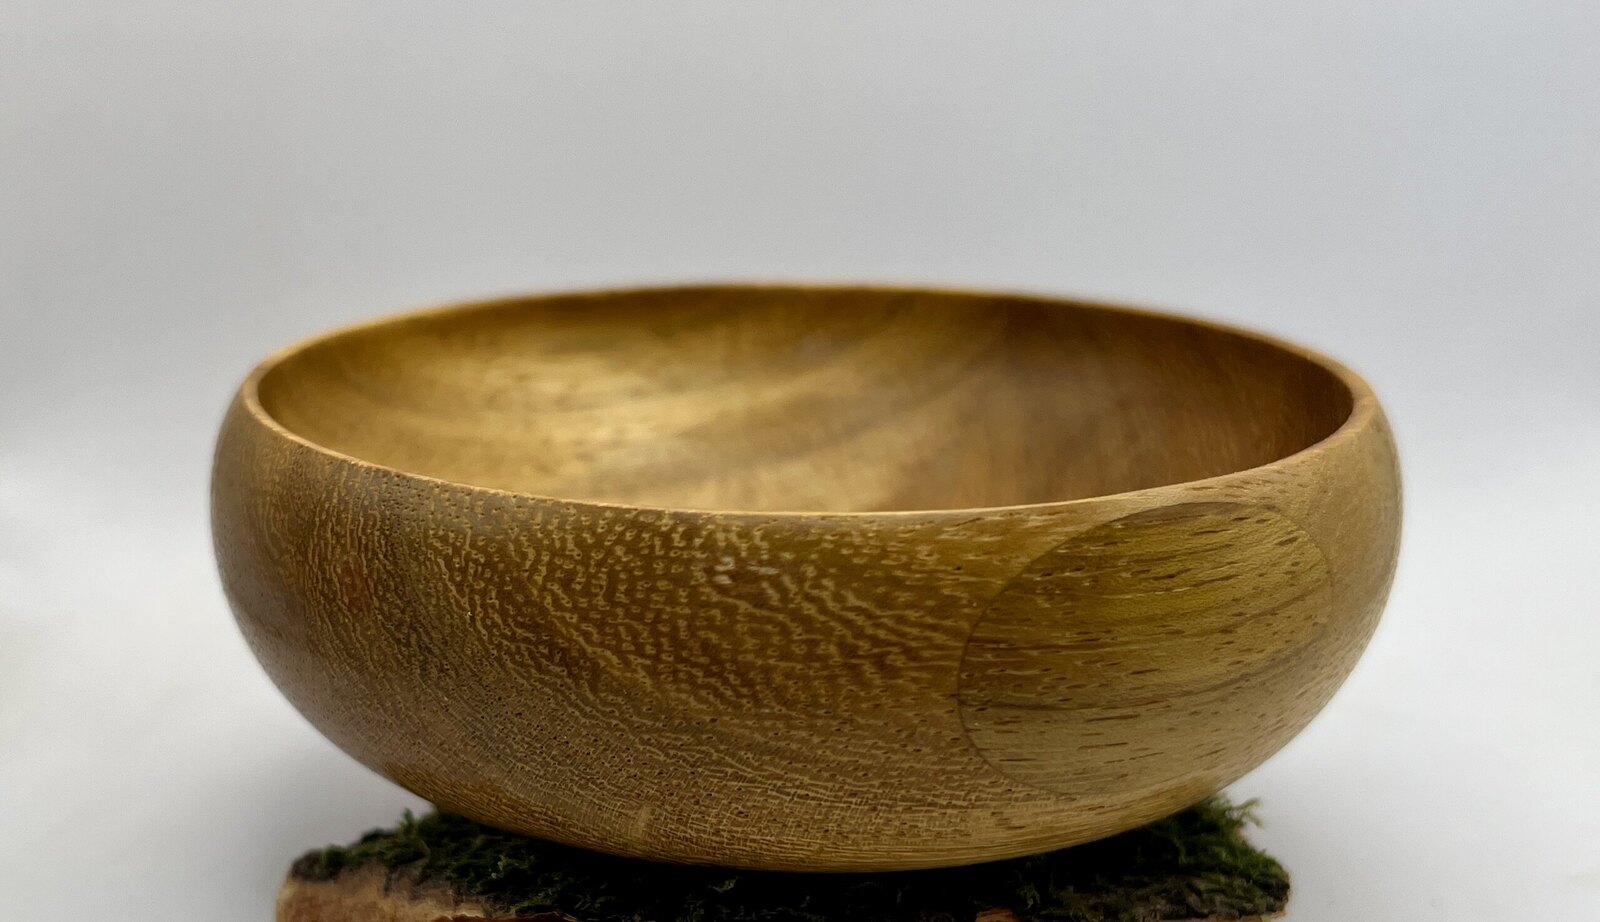
A kitchen offcut, about 90 minutes at the lathe and one finished bowl.
29 July 2026 · The Yorkshire Garage
This piece started as an offcut from my mate Colin's new kitchen before making its way to my garage. I don't know where the timber came from before that, but the wider parts of this bowl are now a worktop in a Leeds flat. The wood itself is African teak, it's a beautiful wood that finishes really nicely.
Here is how the bowl went from kitchen offcut to the finished thing.
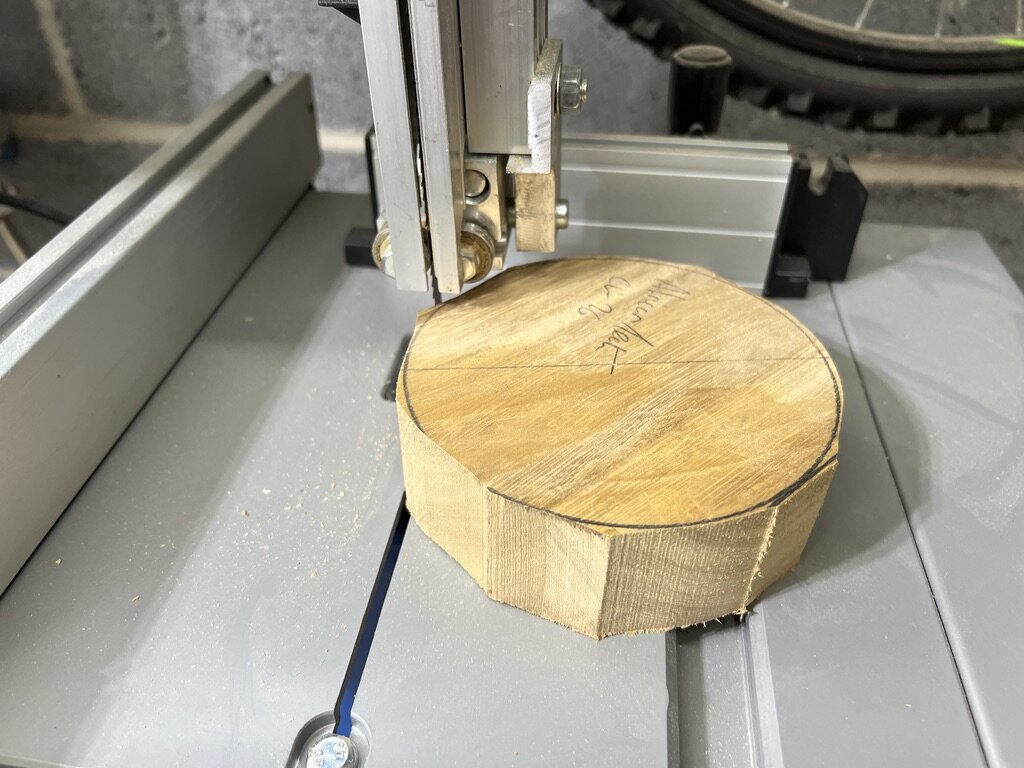
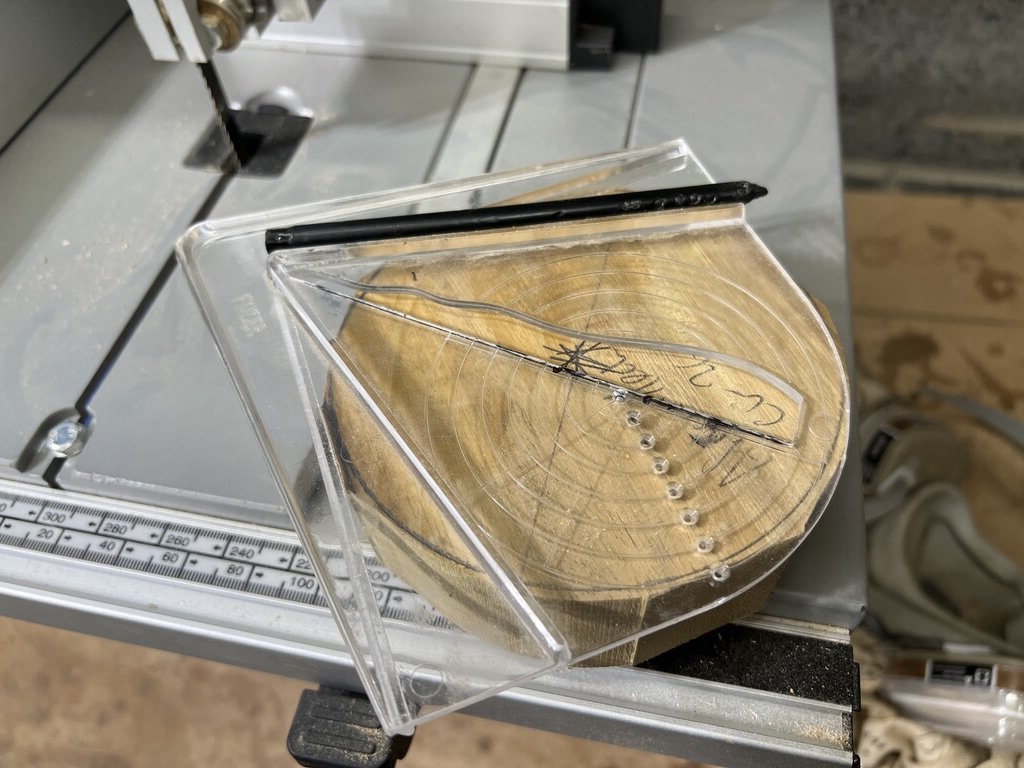
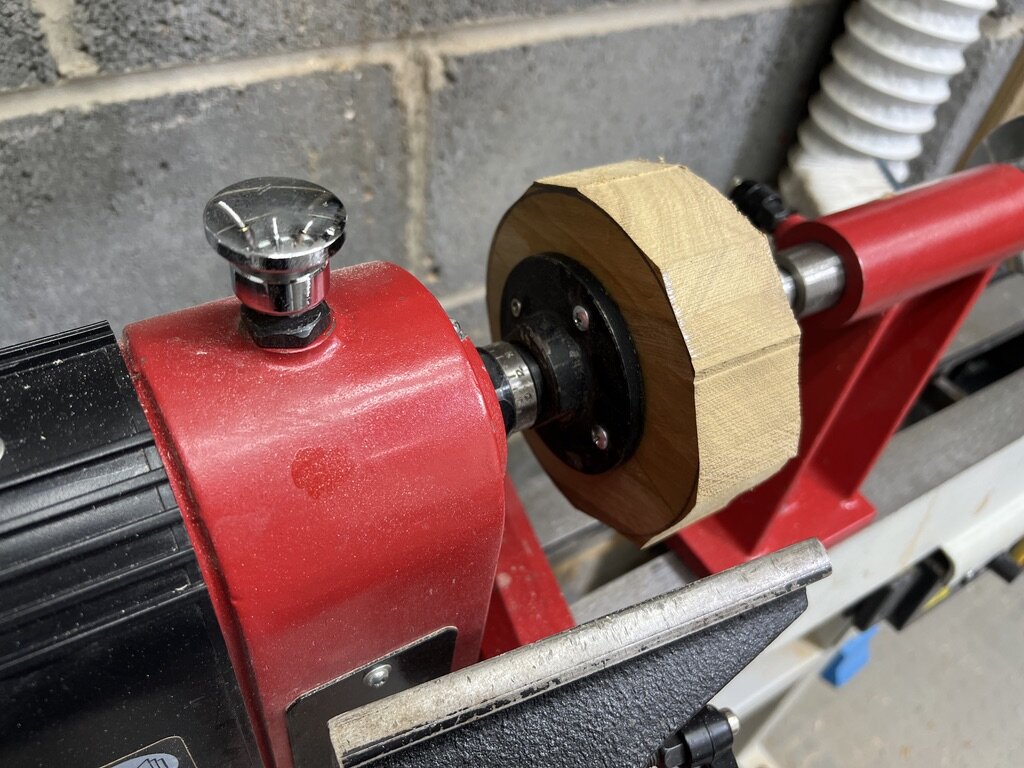
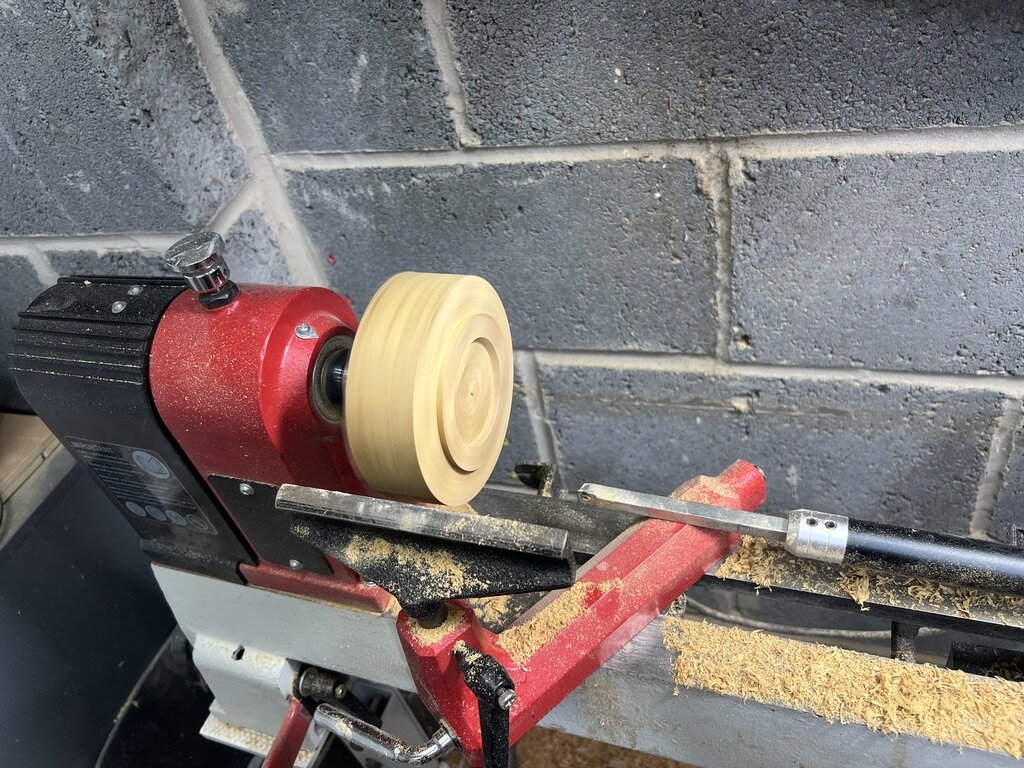
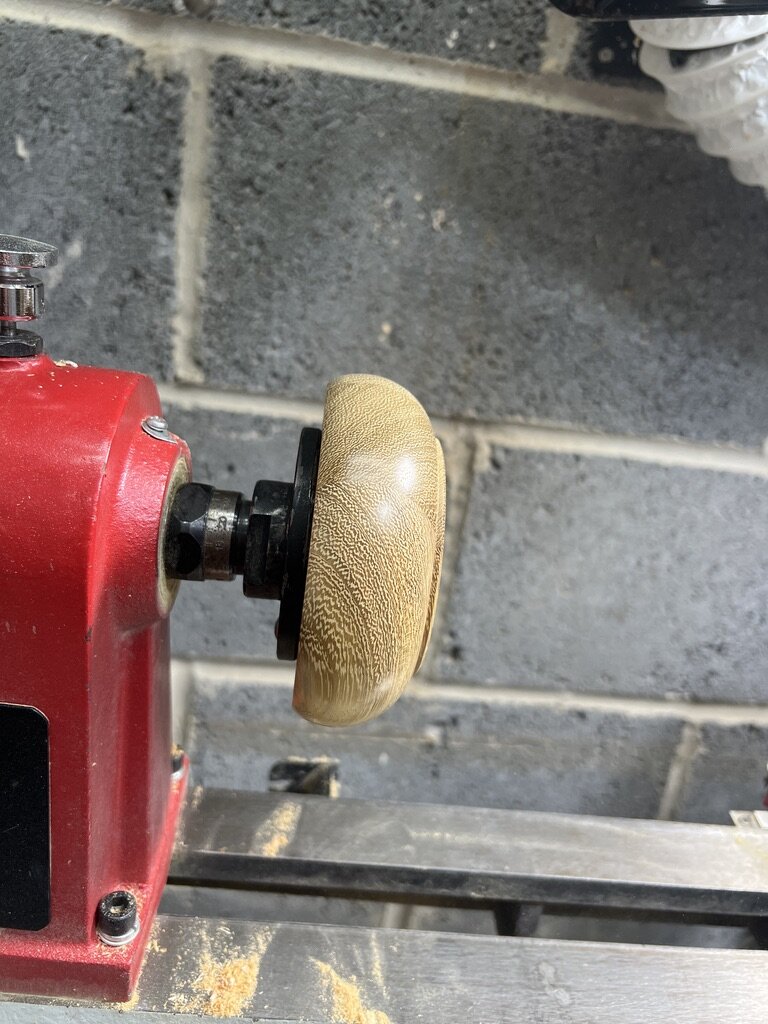
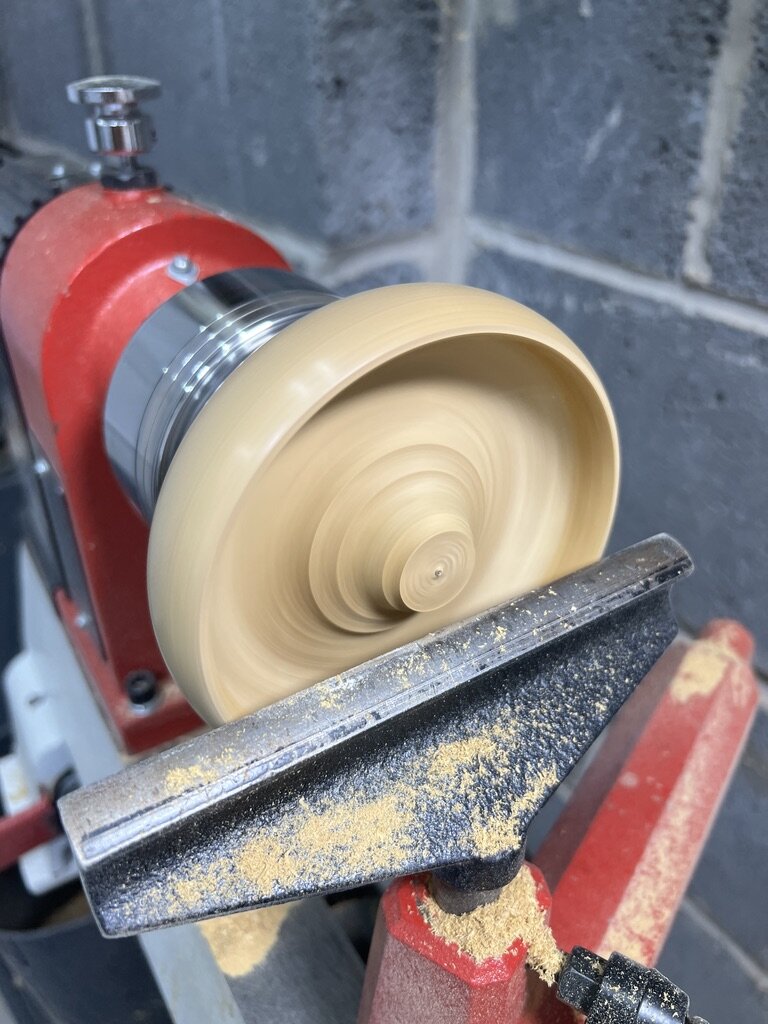
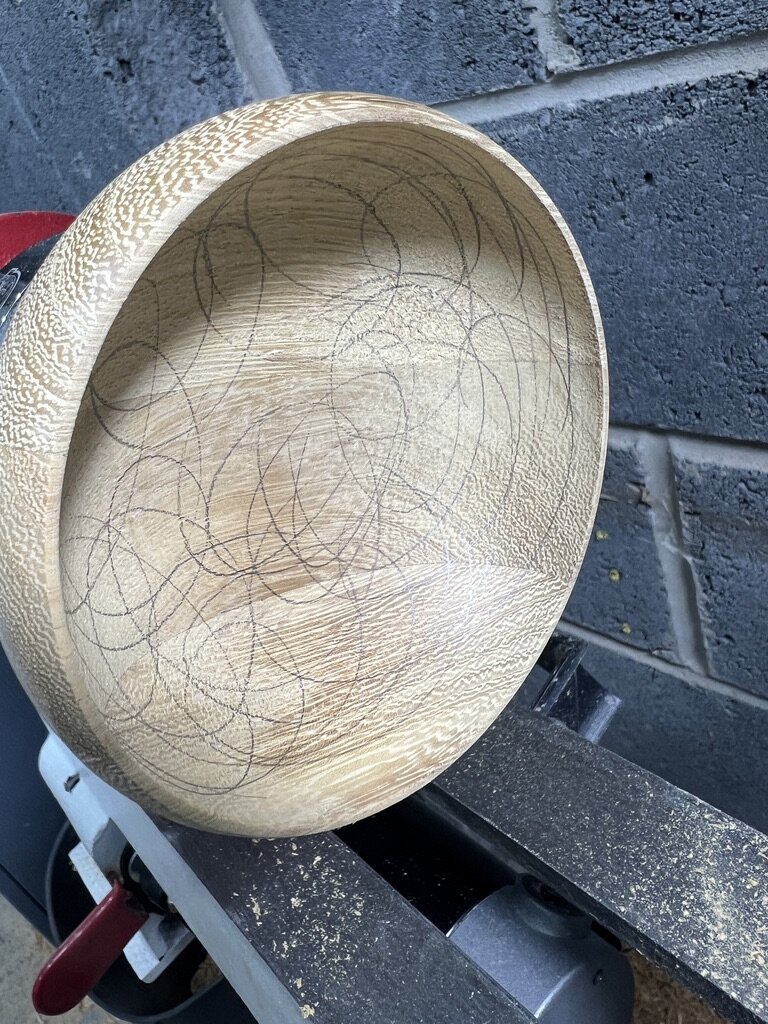
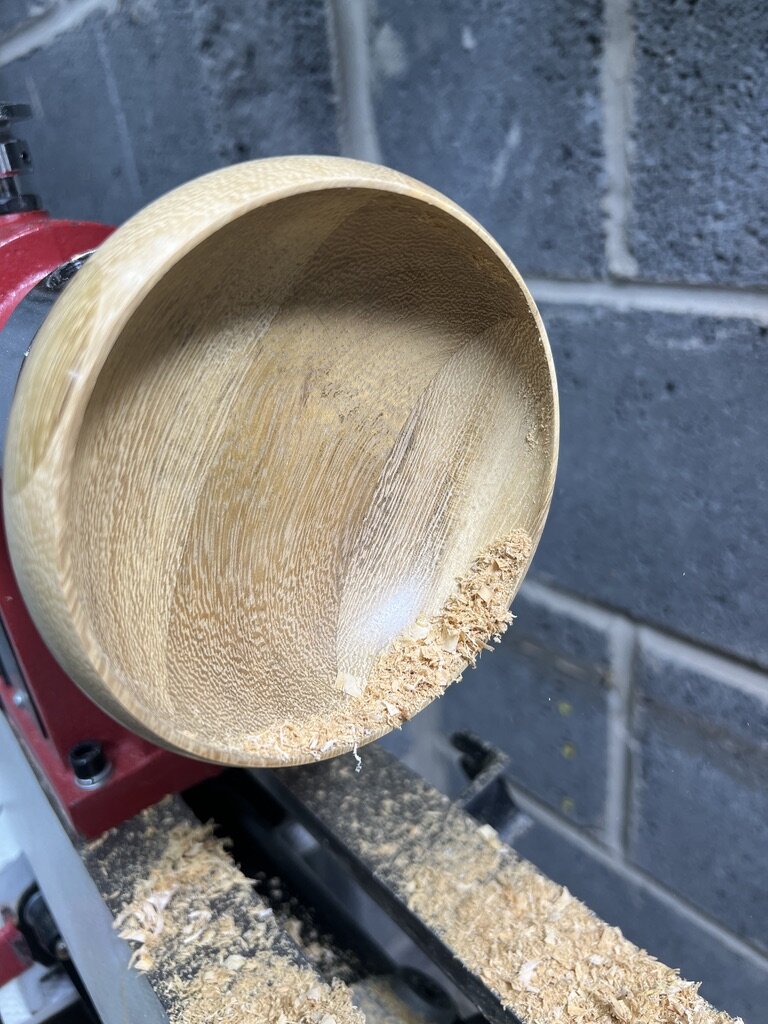
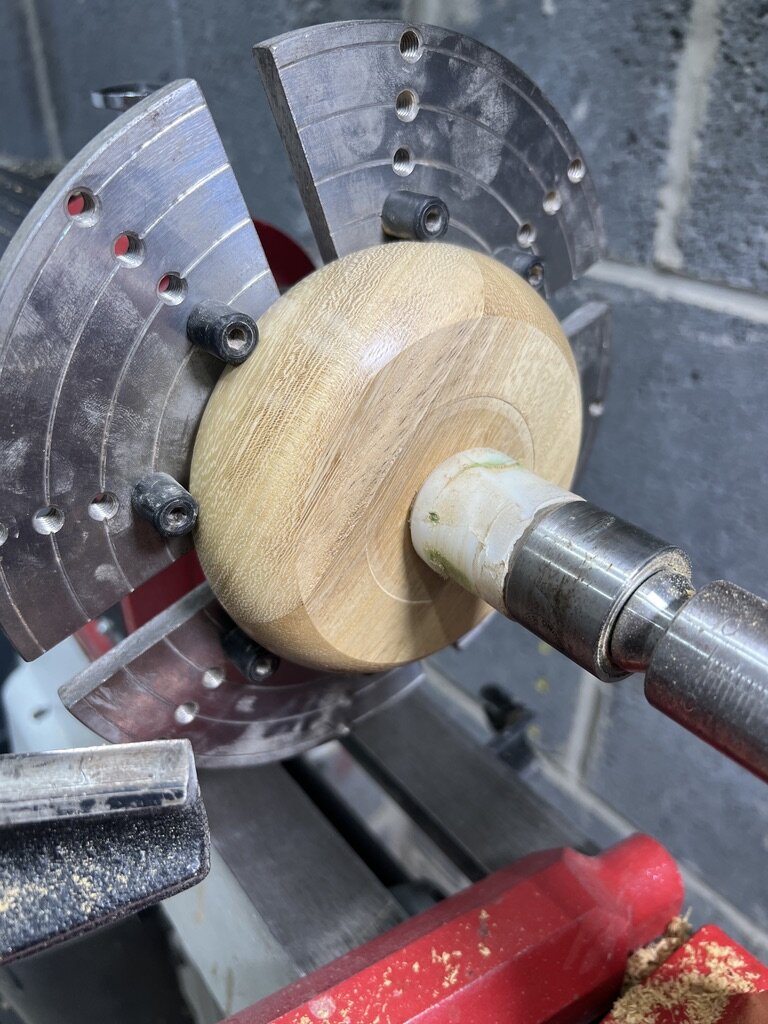
1. Roughing out the blank. I started on the bandsaw, knocking off the corners until the timber was roughly circular. You can turn it as a wonky shape but it tends to make the lathe wobble and it'll dull my lathe tools faster.2. Finding the centre. A few lines across the blank gave me a good enough centre point for mounting it.3. On to the lathe. I fitted a faceplate rather than just using a spur drive and turning between centres, which I have never really got on with as it doesn't quite feel as secure.4. Adding a foot. I prefer a mortise to a tenon for holding a piece like this. I feel as though it wastes less material. It doesn't, but I feel happier, and it is my bowl.5. Shaping the outside. With the exterior profile where I wanted it, I sanded through the grits to 600 or 800 and burnished the surface with the shavings giving a lovely shine.6. Hollowing it out. I flipped the piece into the chuck and started hogging out the middle. This is my favourite bit of turning; my mind just sort of goes on standby and its incredibly relaxing.7. The pencil test. I have never quite got the hang of power sanding the inside of a smaller bowl and always end up with tool marks all over the piece. Instead, I scribble over it with a pencil and sand the marks away bit by bit. When the pencil has gone, I know I have sanded it consistently.8. Sanding and burnishing. The inside also went to about 600 or 800 grit before another burnish with the shavings.9. Finishing the bottom. I flipped it over once more and took off the foot. I made a little adapter for the live centre from hot-glue a while back to give me a nice friction surface which doesn't mark the piece.
Someone once told me that the first thing people do when they pick up your bowl will be to feel the base. Because of this, I usually take the base one grit higher than the rest of the bowl.
10. Finished.Finally a trip to the AliExpress light box. About 90 minutes from start to finish, with teak oil to bring out the grain.